

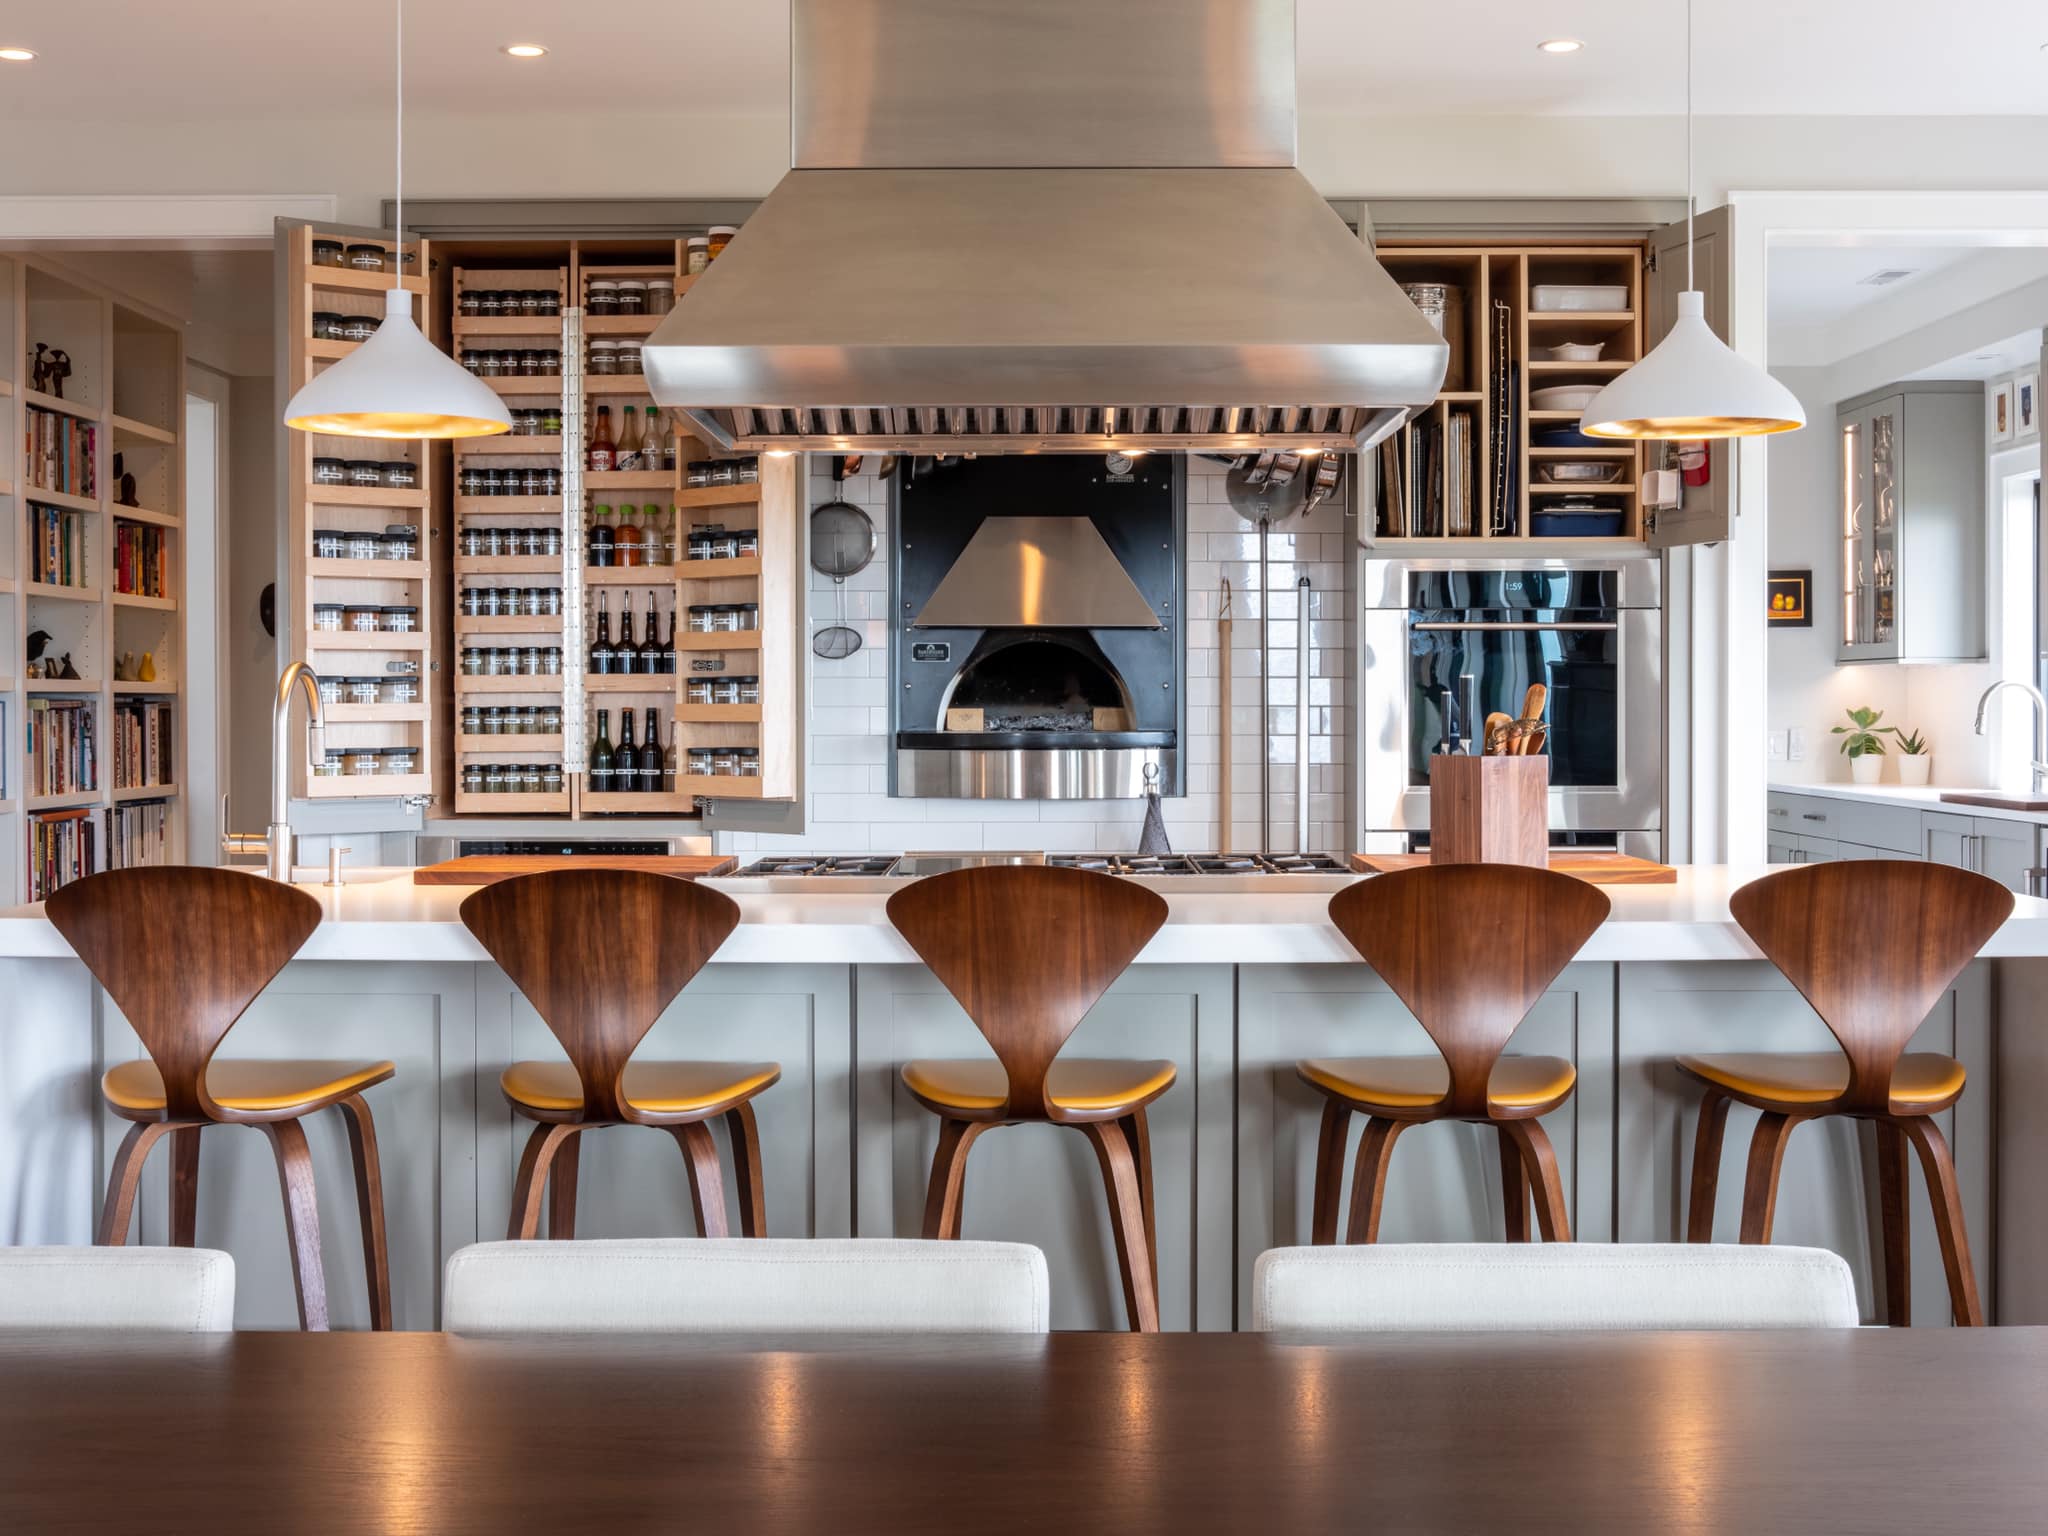
When you see a finished EarthStone oven, it’s hard to imagine the amount of work, precision, and craftsmanship that goes into every single piece. But behind the flame and the stone, there’s a story — one that starts with raw materials, a team that knows their craft, and a process perfected over decades.
This is a look behind the build — step by step, from mix to masterpiece.
Step 1: The Mix — Where It All Begins
It all starts before a single mold is poured.
The mix is everything.
We use a proprietary blend of high-temperature refractory cement and durable aggregates that can withstand years of use at extreme heat. Getting the mix right takes experience — and a bit of instinct. Too much water and the cast weakens; too little and it won’t bond correctly.
Once the formula hits the perfect consistency, it flows from our massive mixer down the chute and into the molds. It’s messy, it’s heavy, and it’s the foundation of every oven we build.
Every scoop matters, every drop counts.
Step 2: The Pour — Strength from the Ground Up
With the mix ready, it’s time to pour.
Our molds are precision-engineered to create dense, even casts. We pour the cement carefully, filling every corner while the mold vibrates to eliminate air pockets. This step is what gives each oven its strength, density, and ability to retain heat evenly — qualities that define EarthStone ovens.
If you’ve ever cooked in one, that perfect crust, that steady heat, that’s where it begins — right here in the pour.
Step 3: The Reveal — Bringing the Oven to Life
After the cement cures, the most satisfying part begins: the reveal.
We remove each mold to uncover solid pieces of refractory stone — the dome, the walls, and the hood. These aren’t thin shells or fragile ceramics; they’re heavy, solid components built to last decades.
Each piece is shaped with precision so that, when assembled, everything fits together seamlessly. It’s like watching raw material turn into something alive — something that will soon hold fire and create food memories for years to come.
Step 4: The Assembly — Precision Meets Craft
Once the core pieces are ready, our team begins the assembly.
This is where craftsmanship really shines.
Every joint is sealed with high-performance refractory compounds, and every connection is checked for fit and balance. The dome must align perfectly with the walls so that heat circulates evenly. The airflow, insulation, and geometry all work together — every millimeter matters.
We test, we measure, and sometimes, we redo a step if it doesn’t feel right. Because that’s the EarthStone way: if it’s not perfect, it’s not done.
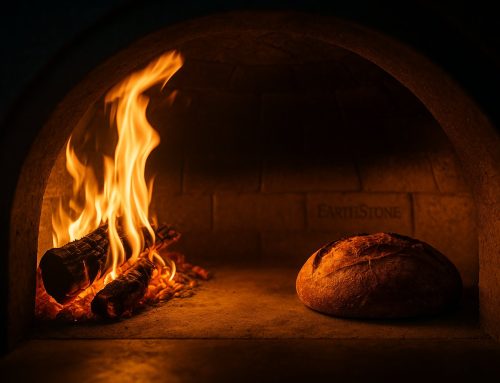
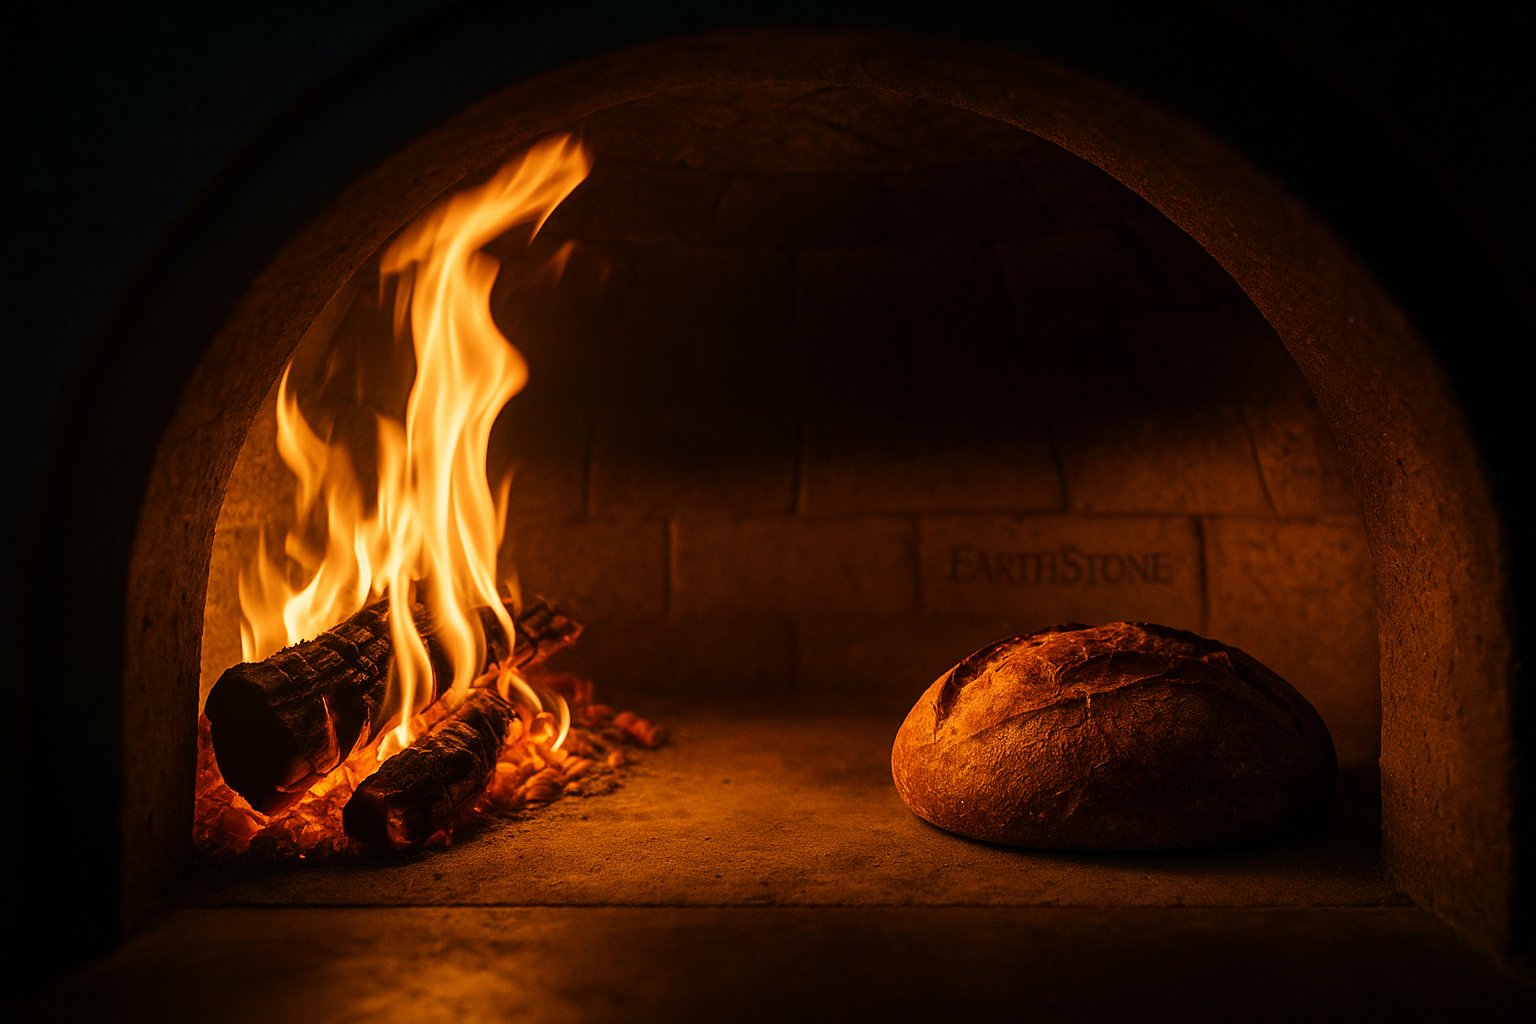
Step 5: The Finish — Ready for Fire
After assembly, the oven begins to take on its recognizable form. Whether it’s going to a restaurant, a backyard kitchen, or a pizzeria halfway across the world, each oven receives a final inspection.
We check the fit, the surface, the curing, and even the tone of the cast. Everything has to meet the same standard — the one we’ve upheld since the first EarthStone oven left our facility decades ago.
And when it passes that final check, it’s ready for fire.

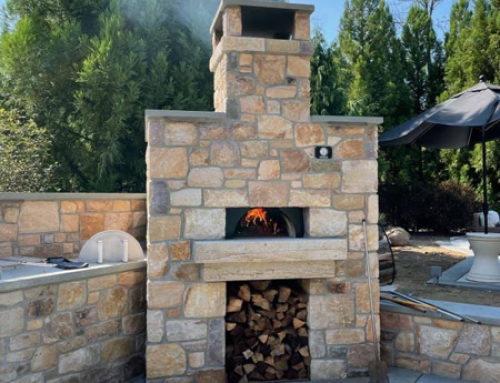
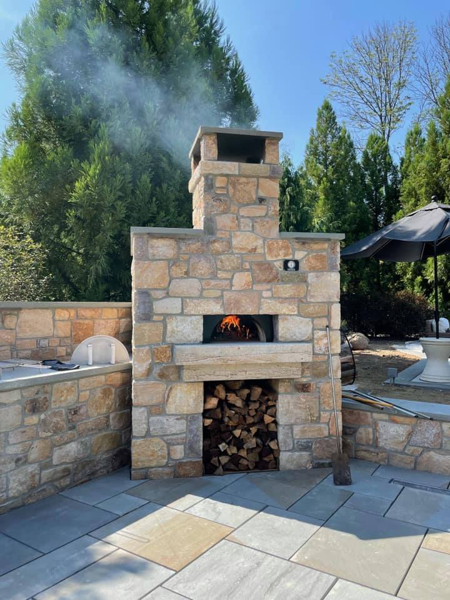
Built to Last — The EarthStone Difference
Building an EarthStone oven isn’t a quick process. It’s measured, deliberate, and grounded in decades of experience. From the mix to the mold to the moment that first pizza hits the deck, every step is about precision and passion.
Our ovens aren’t just tools — they’re the result of craftsmanship, tradition, and the kind of engineering that only comes from people who truly love what they do.
We like to think of them as the heart of every great kitchen — whether that’s a family backyard or a busy professional line. And when you cook on one, you’ll feel the difference.
Because at the end of the day, we don’t just build ovens — we build something that lasts.
Need help choosing the right oven for your needs?
📞 Contact EarthStone for a Consultation
